
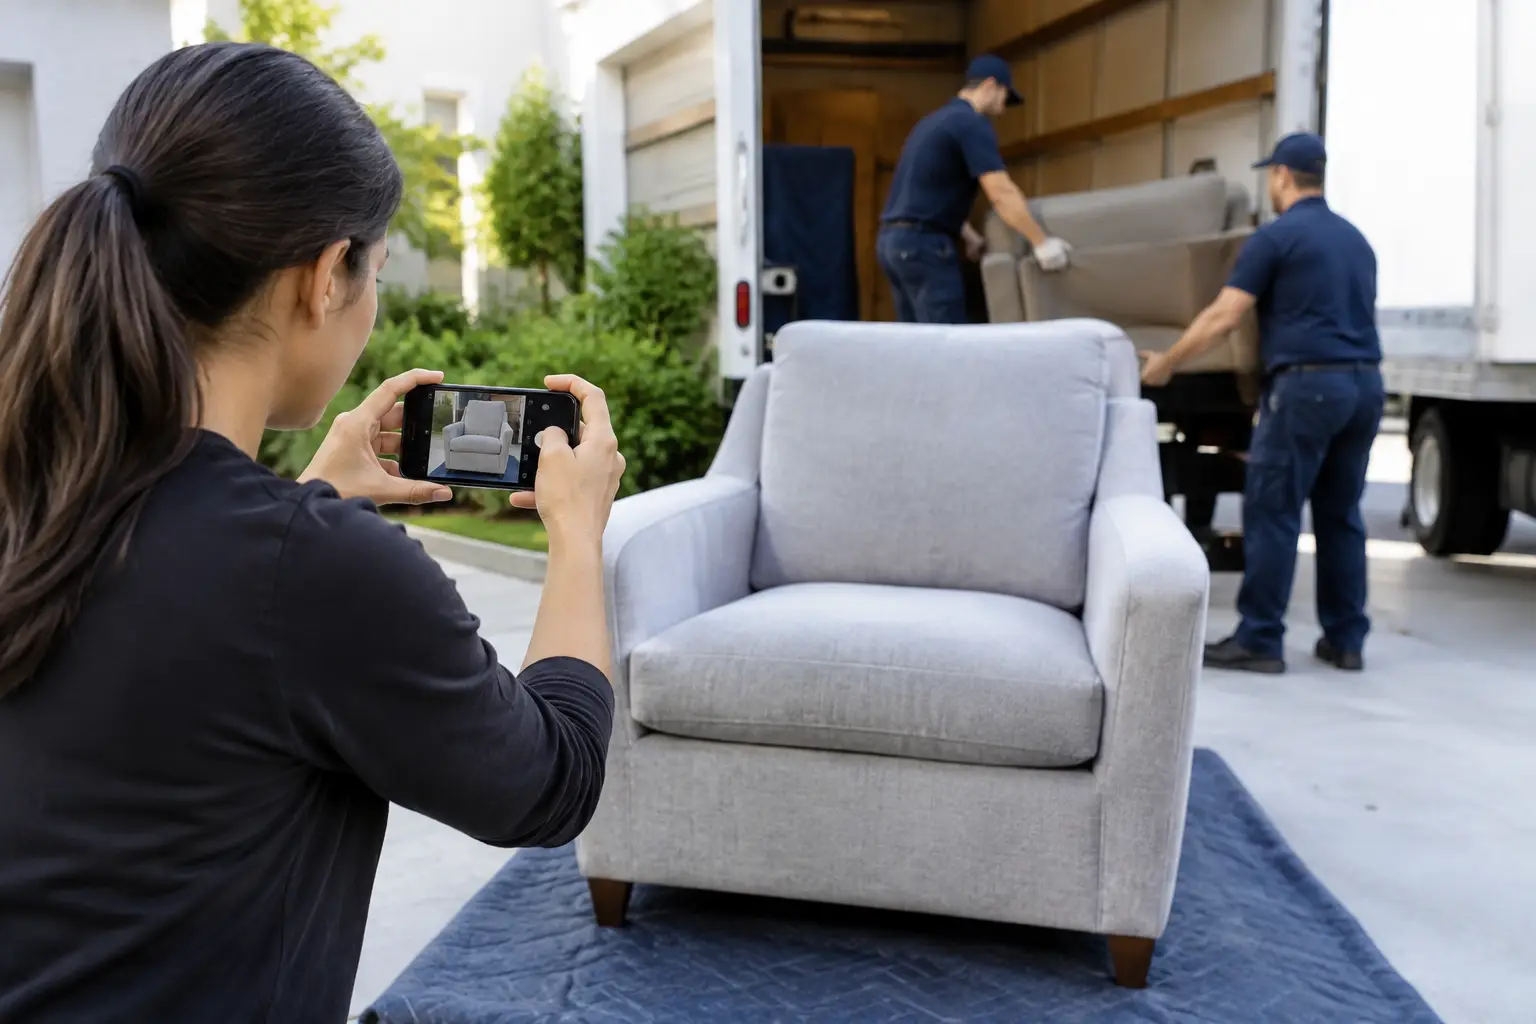
A small scuff on a dresser can be easy to overlook until moving day is over and everyone is trying to remember whether it was there before. Knowing how to photograph furniture condition gives you a clear record of each item before it is packed, loaded, and delivered. It takes little time, helps prevent confusion, and lets you point out existing concerns to your moving crew before work begins.
Photos are not about expecting the worst. They are about starting your move with clear communication. For valuable furniture, sentimental pieces, antiques, or items with existing wear, a simple photo record can provide welcome peace of mind.
Photograph Furniture Condition Before Packing Starts
Take your photos before blankets, shrink wrap, tape, or furniture pads cover the item. Ideally, do this after you have cleaned off surfaces and before movers arrive. If a piece is already in storage or being moved from an apartment, photograph it as soon as you have access to it.
Use your phone’s camera if it takes clear, focused photos. You do not need professional equipment. What matters is that the image is bright enough to show color, texture, edges, and any existing damage without guesswork. Turn on the date and time setting if your phone offers it, but do not rely on that alone. Keep the images in a dedicated album labeled with the move date and address or room name.
Natural daylight near a window works well, though overhead lighting can be useful for dark wood, black upholstery, and recessed areas. Avoid strong backlighting, which can turn a furniture piece into a shadow. If glare from a window or lamp hides the finish, change your angle rather than using a flash directly on the surface.
Start With Full-Item Photos
Begin with wide shots that show the furniture piece as a whole. Take one photo from the front, one from each side, and one from the back when possible. For a sectional, photograph each separate section and then take a wider image showing how the pieces fit together.
These overview photos establish the item’s general condition, color, size, and design. They also help connect close-up damage photos to the correct piece later. A close image of a scratch without a full-item photo may not be useful if you are documenting several similar dressers, dining chairs, or nightstands.
For larger items, step back far enough to capture the entire piece without distorting it. If space is tight, especially in apartments or storage units, take overlapping photos from top to bottom. Photograph both ends of a sofa, the arms, the cushions, the back, and the lower frame. For a dining table, include the tabletop, legs, apron, and underside.
Take Close-Ups of Existing Wear and Damage
After the wide shots, document every area that already has visible wear. Focus on scratches, dents, chips, stains, tears, loose hardware, water marks, pet damage, fading, cracked veneer, and worn corners. Photograph damage straight on first, then take a second photo from a slight angle if it helps show depth or texture.
A close-up should be sharp and well lit. Tap the damaged area on your phone screen to focus before taking the photo. If the mark is small, place a ruler, coin, or measuring tape beside it for scale. This is especially useful for gouges in wood, cracks in glass-front furniture, or tears in upholstery.
Do not edit the photos with filters, color correction, or retouching tools. Edited images can make the condition harder to interpret. Keep the originals and avoid screenshots when possible, since screenshots may reduce quality or remove useful file details.
It also helps to photograph common trouble spots, even if they look fine. Include the lower corners of wood furniture, sofa legs, chair joints, drawer faces, tabletop edges, and the back of upholstered pieces. These areas are more likely to contact door frames, walls, ramps, or other furniture during a move.
Document Function, Not Just Appearance
Furniture condition includes whether the item works properly. A cabinet can look perfect from the outside while a drawer sticks, a hinge is loose, or a recliner mechanism does not operate correctly. Still photos are useful, but a short video can be better for moving parts.
Open and close drawers, cabinets, and doors while recording. For a recliner, adjustable bed frame, desk with a keyboard tray, or extendable dining table, record the mechanism working before the move. If the item needs special instructions, say them aloud in the video or add a note in your phone. For example: “Left drawer sticks unless lifted” or “Table leaf is stored under the bed frame.”
This step is particularly valuable for antiques, complex office furniture, entertainment centers, and pieces that will be disassembled. Take photos of hardware, connection points, and cable layouts before anything is taken apart. Those images can make reassembly quicker and reduce the chance of forcing a component into the wrong position.
Capture Special Handling Needs Clearly
Some pieces need more than basic furniture pads and careful lifting. Photograph specialty items and note anything a mover should know before the appointment. That includes fragile glass panels, marble tops, removable legs, loose shelves, delicate inlays, unusually heavy construction, and furniture that must be carried through a narrow stairway or hallway.
If a piece has a weak leg, cracked frame, loose arm, or damaged caster, point it out before loading begins. A professional moving crew needs accurate information to choose the safest handling method. Existing damage can affect how an item is lifted, wrapped, or positioned on the truck.
For high-value pieces, take extra photos of manufacturer labels, serial numbers, and model tags when available. This can be helpful for identification, especially with office furniture, designer pieces, appliances, and specialty items. Keep those photos private and stored with your move records.
Organize Your Photos So They Are Useful Later
A camera roll full of hundreds of move-day images can become difficult to search. Create a folder or album before you begin. You can organize photos by room, such as “Primary Bedroom,” “Living Room,” and “Office,” or by item category if that better fits your move.
For items with visible concerns, add a brief note using your phone’s photo caption feature or a separate checklist. Write what the damage is and where it appears: “Two-inch scratch on lower right side of oak buffet” is much more useful than “scratch.” If you have several nearly identical pieces, assign a simple label, such as “Guest Room Dresser 1.”
Back up the album before moving day. Save it to a secure cloud account, email it to yourself, or copy it to another device. Your photos cannot help much if they remain only on a phone that is lost, damaged, or packed away during the move.
Review the Furniture With Your Movers
On moving day, keep your photo record accessible and walk through any notable concerns with the crew before loading starts. You do not need to inspect every chair in detail together. Focus on valuable pieces, existing damage, fragile surfaces, and items with special handling requirements.
Clear, respectful communication helps everyone work from the same information. A dependable moving team will appreciate knowing about a loose drawer, a fragile glass insert, or a heavy solid-wood piece before it is lifted. If you have chosen an insured mover, ask questions about their process and keep any move paperwork with your photo record.
Once your furniture is delivered, inspect it before the crew leaves whenever practical. Compare items with your pre-move photos in good lighting, especially if a piece was disassembled, transported long distance, or placed in a tight room. If you notice a concern, document it right away with new photos and follow the mover’s reporting process.
A Few Photos Can Make Moving Day Easier
Photographing furniture condition is a practical way to protect your belongings and reduce uncertainty. It creates a clear starting point, supports better communication, and helps you stay organized when there are many details competing for your attention.
For Fort Worth and DFW households planning a move, Great White Moving Company encourages customers to identify special handling needs early. A prepared photo record, a clear inventory, and a professional moving crew can make a stressful day feel far more manageable.
